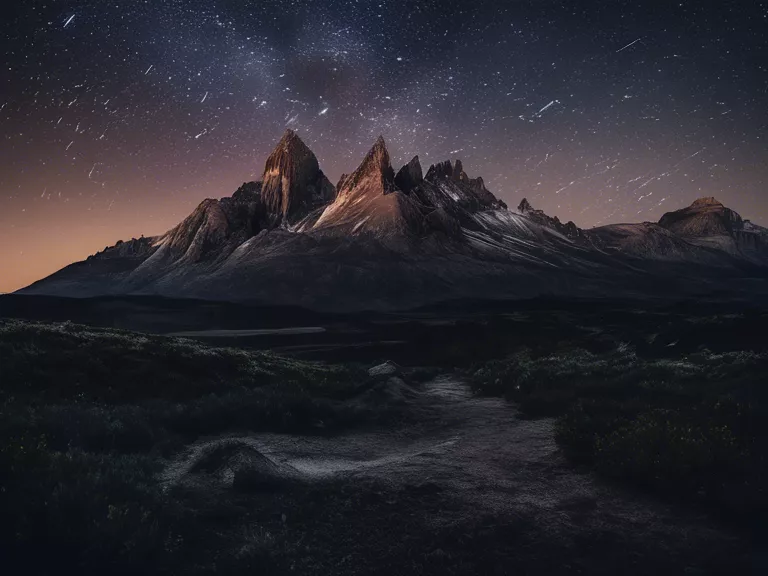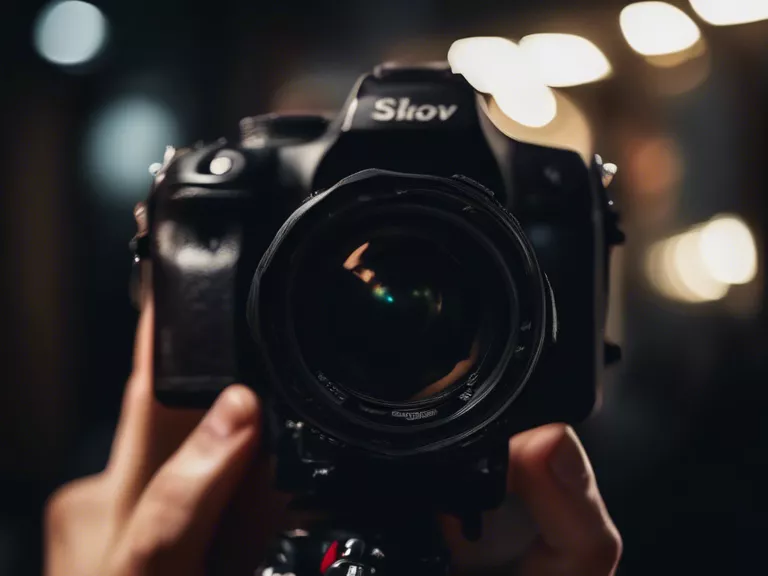
Taking photos in low light conditions can be challenging, but with the right camera settings, you can capture stunning images even in the darkest of environments. In this article, we will explore the best camera settings for shooting in low light conditions and help you take your photography to the next level.
When shooting in low light, it's important to keep in mind that you'll need to let more light into your camera to achieve properly exposed photos. Here are some camera settings to consider:
Use a wide aperture: When shooting in low light, using a wide aperture (a low f-stop number) will allow more light to enter your camera, helping you capture brighter images. Aim for an aperture of f/2.8 or lower for optimal results.
Increase your ISO: In low light conditions, you'll need to increase your camera's ISO setting to make the sensor more sensitive to light. Just be mindful that higher ISO settings can introduce noise into your images, so find the right balance between a bright image and acceptable noise levels.
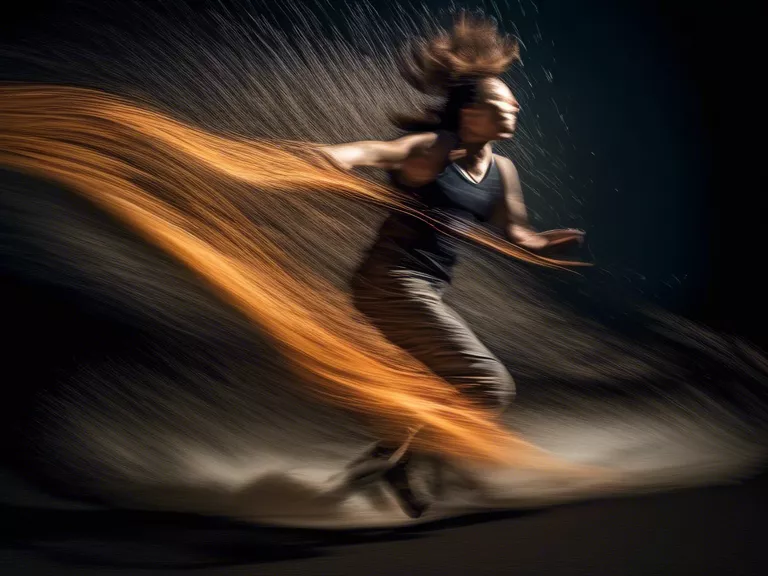
Slow down your shutter speed: When shooting in low light, you may need to slow down your shutter speed to allow more light to reach the sensor. However, be cautious of camera shake at slow shutter speeds – consider using a tripod or image stabilization to ensure sharp photos.
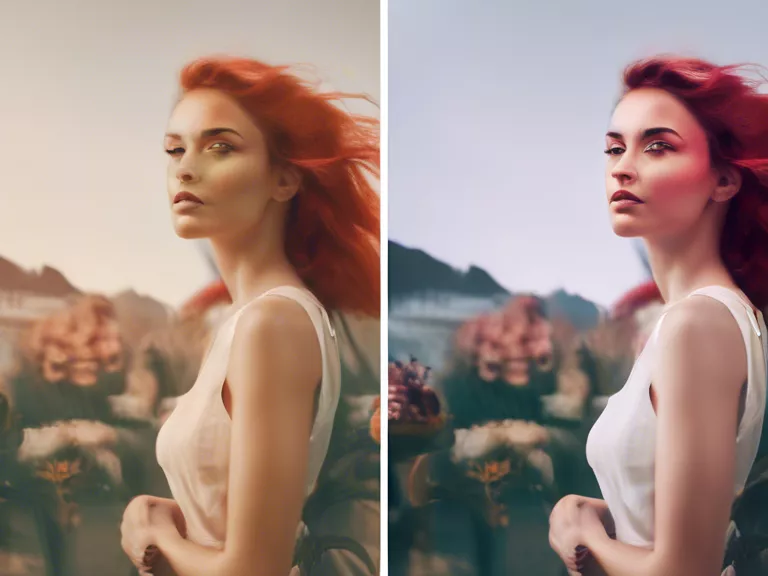
Shoot in RAW: Shooting in RAW format allows you to retain more data from your photos, making it easier to adjust exposure and white balance in post-processing. This can be especially helpful when shooting in low light conditions where getting the exposure just right can be challenging.
Experiment with manual focus: In low light, your camera's autofocus may struggle to lock onto subjects. Consider switching to manual focus and using focus peaking or magnification to ensure sharpness in your photos.
By adjusting these camera settings and experimenting with different techniques, you can improve your low light photography and capture stunning images even in challenging conditions.
